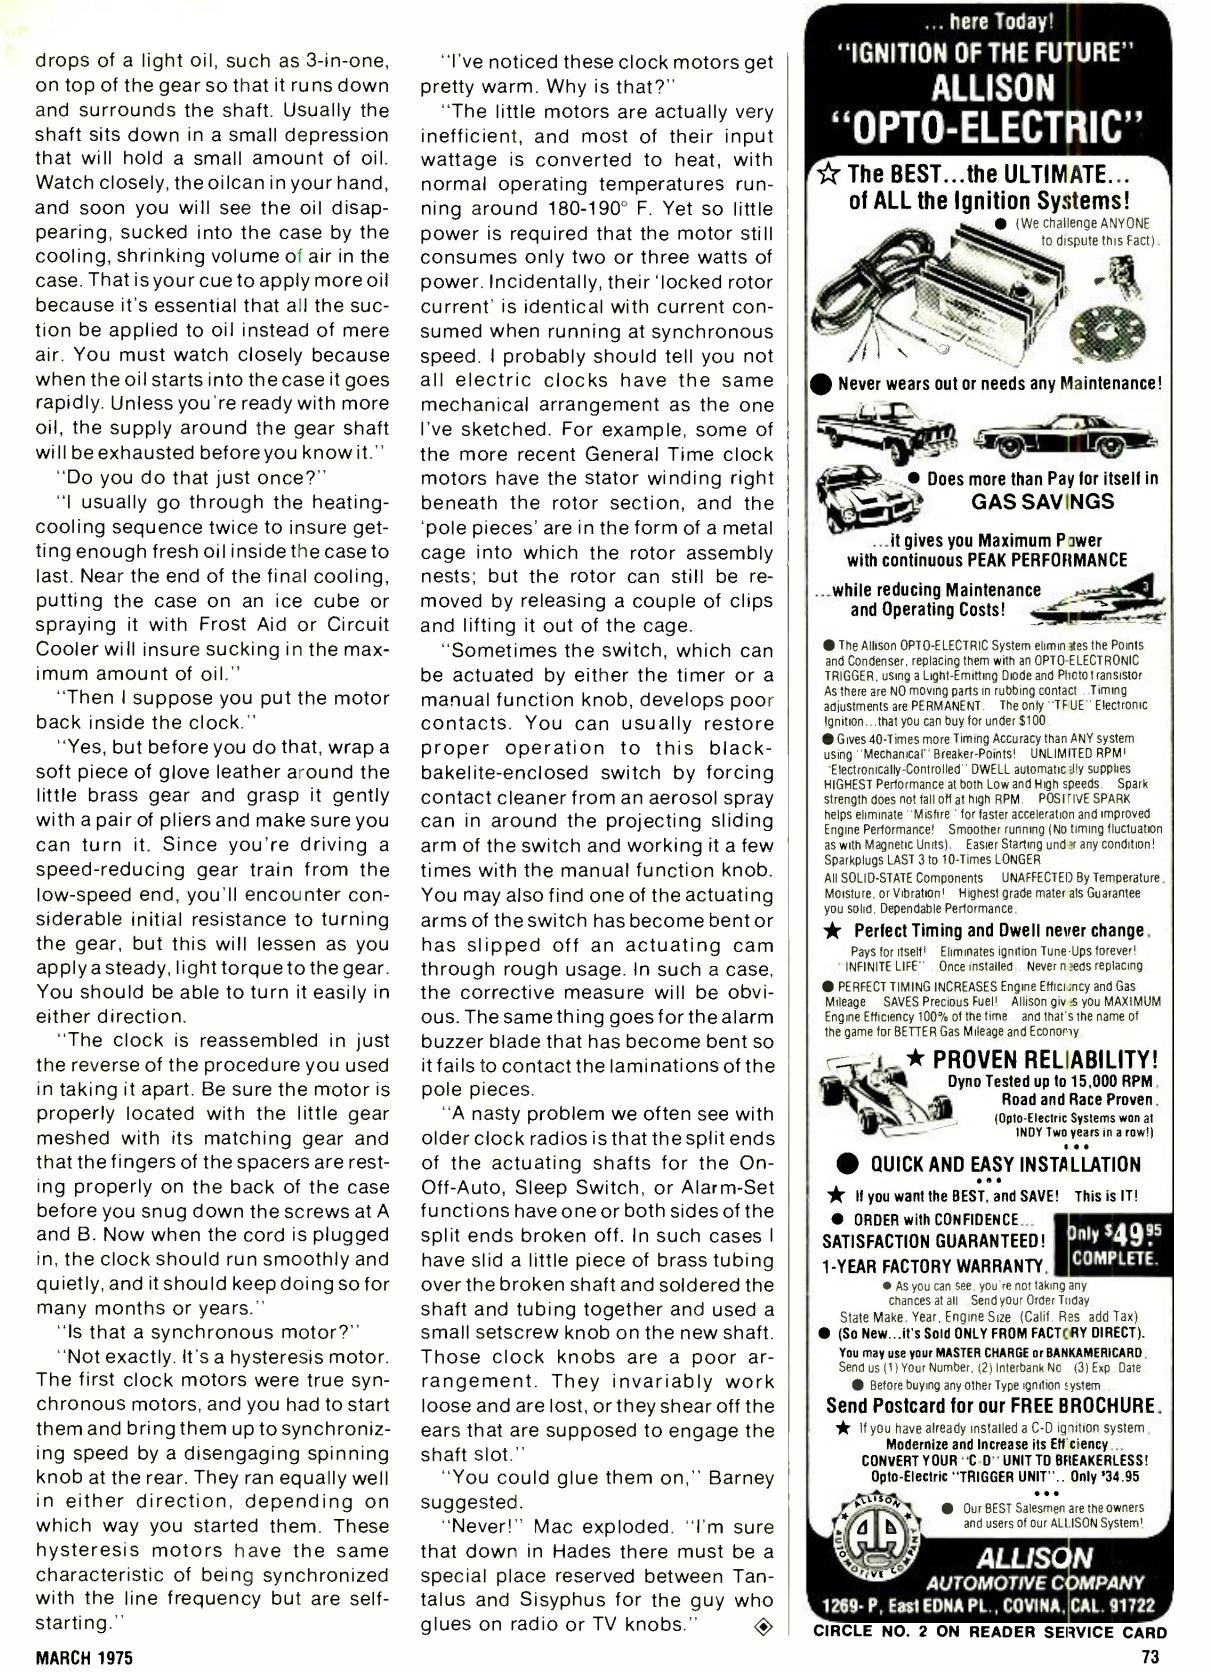
Here's information about the various clock/door chime models that NuTone made:


NuTone L-36 "Elite" Installation Instructions & Other Information:
  • Page 1
  • Page 2
  • Page 3
  • Design Patent from 1959
  • Other information

  • NuTone K-35 / L-35 Information:

  • Service Video 1
  • Service Video 2
  • Very similar chime (not made by NuTone)

  • NuTone K-38 Information:

  • NAWCC Thread
  • American Builder Ad
  • Store Display

  • NuTone Time Chime TC-995 Information:

  • NuTone Chime Ad

    NuTone "Monticello" Information:

  • NuTone Chime Ad
  • NuTone Chime Ad

    NuTone K-46 "Jefferson" Information:

  • The K-46 "Jefferson" requires a NuTone 20VAC transformer
  • How to remove the movement for shipping

  • 1939 NuTone Time-Chime Information:

  • Overview
  • Clock Removal & Disassembly
  • Telechron Motor Servicing & Repair
  • Re-assembly of the Clock & Cover
  • Disassembly of the 2-note chime base
  • Re-assembly of the 2-note chime base
  • Final Testing
  • NuTone Chime Ad

    NuTone L-37 Clock Info:

  • L-37 Overview

    NuTone CH4000 "Madison" and "Churchill":

  • Video 1
  • Corrections to Video 1
  • More Information

  • NuTone LA-40 "Villager":

  • Photo 1
  • Photo 2
  • Photo 3

  • ~1970s NuTone Clock:

  • Forum Thread

  • If you are looking for information about the L-56 "Jefferson', L-59 "Century", L-60 "Sunburst", L-82-B, L-83-B, or L-84-B, please use the catalog & other information below:

  • L-60 "Sunburst"
  • More info on the L-60 "Sunburst"
  • U.S. Patent for the L-60 "Sunburst"
  • L-82-B, L-83-B, and L-84-B
  • L-56 "Jefferson" & "L-59 Century"


  • Many NuTone clocks use Telechron rotors (with the exception of the K-35 that uses a Hansen Synchron motor). The following information can help you get your clock running again.


    How to revive a Telechron rotor or General Time M5 rotor (Taken from the March, 1975 edition of Popular Electronics):

    Click Images to Enlarge
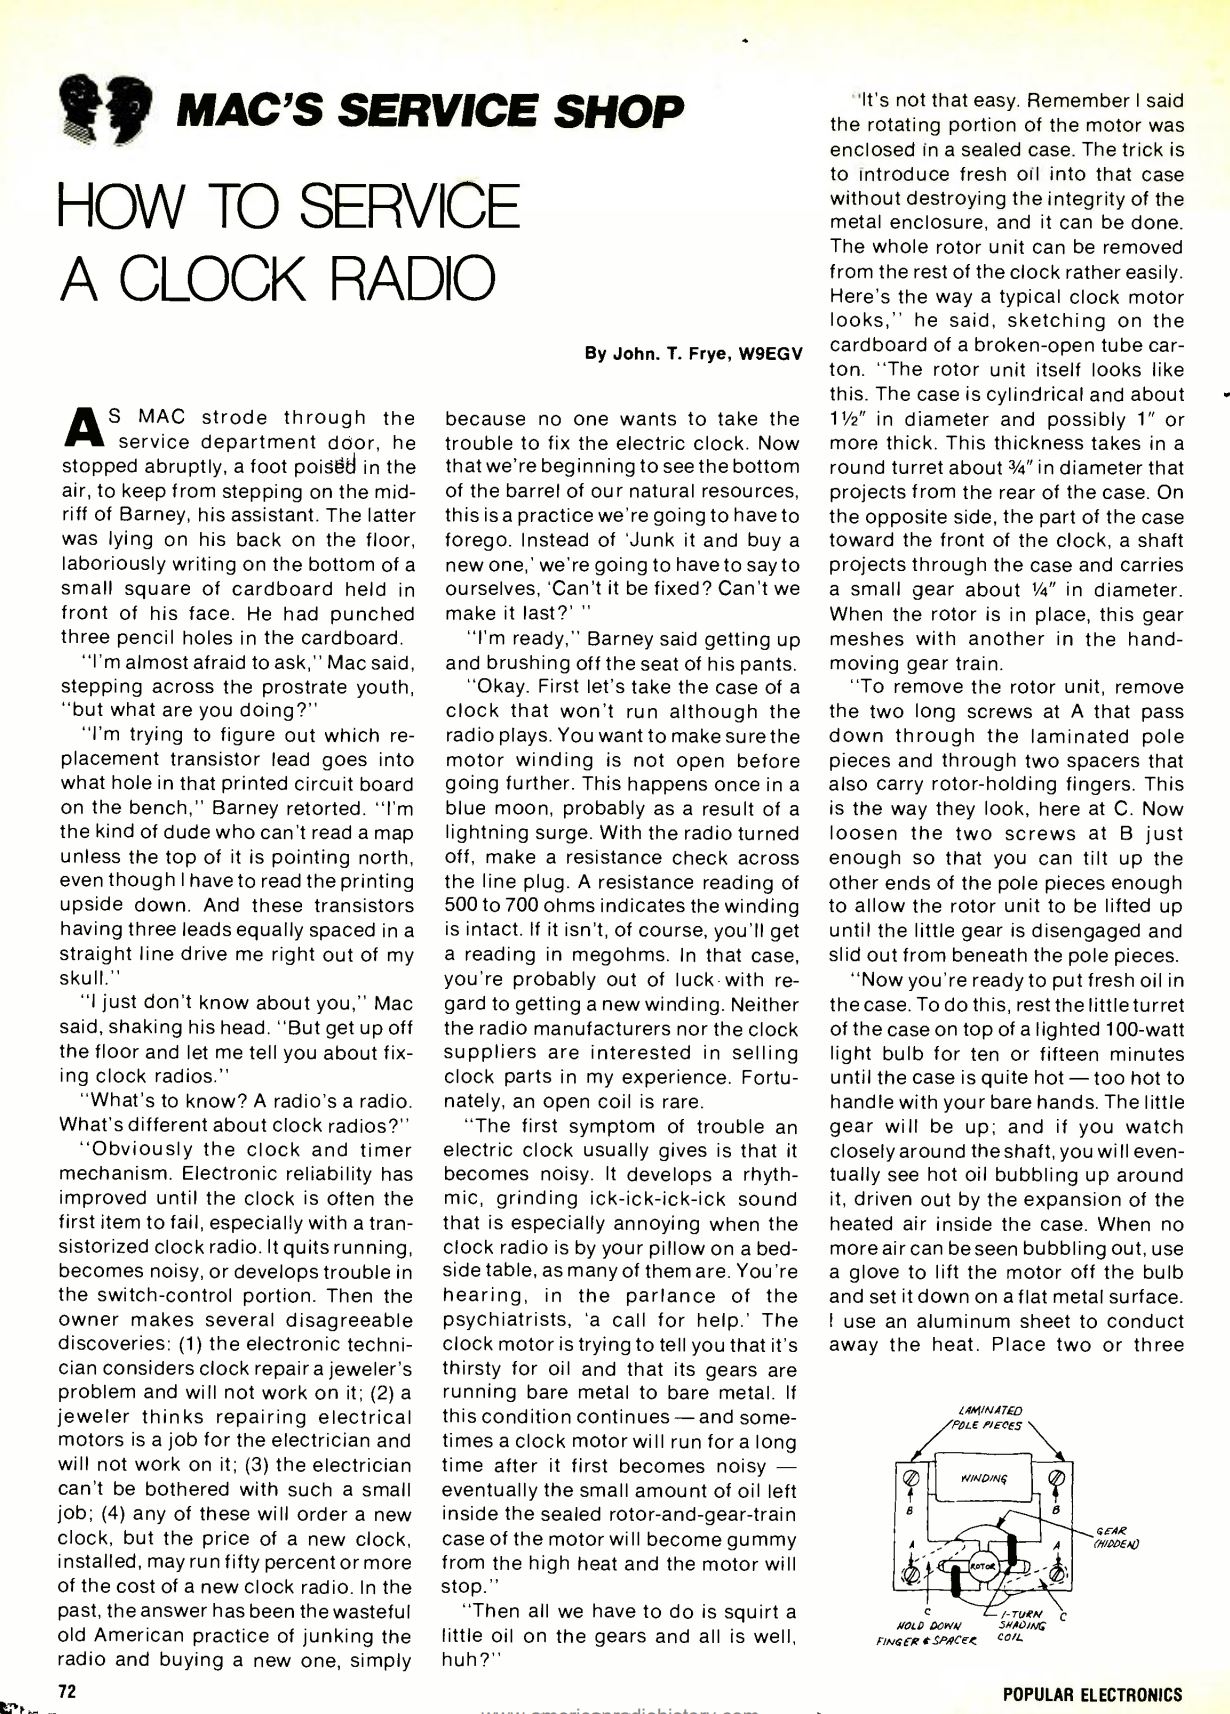

    Click here to read the full March, 1975 edition of Popular Electronics

    Notes for the above method:

  • Instead of using 3-in-1® oil, use proper clock or sewing machine oil
  • Instead of using an ice cube or freeze spray on the last cooling, let the rotor cool naturally
  • If you need more information & tips for the above method, click here
  • If you don't want to try it yourself, you can buy a rotor or send yours to get fixed. click here

    If you have a K-35 with a Hansen Synchron motor, you may be able to buy them here or here.


    Electric Clock Safety:

    Electric clocks can be dangerous, especially if their cords or wires are frayed or damaged. Here are some steps to keep your clock from burning down your house.


  • Make sure all internal wiring is in good shape. If it isn't, replace the wiring or have someone do it for you.
  • If the clock is being used in a wet/industrial/outdoor enviroment, plug the clock into a GFCI (Ground Fault Circuit Interupter) protected outlet.
  • When buying new cords, plugs, etc. make sure the UL mark of Underwriters Laboratories is on it. This means that it has been tested & approved for use.
  • When re-wiring a clock or any appliance, make sure to tie a strain relief knot in the cord where it enters the clock or appliance.
  • When wiring a new plug to a clock or appliance, use either a Quick Clamp/Automatic Wiring/Easy-Wire plug for 18 AWG wire, or a round/rectangular plug with an underwriters knot as a strain relief. Click here for how to wire an underwriters knot.
  • When wiring a new cord to a clock or appliance, DO NOT USE ANY SMALLER THAN 18 AWG WIRE! Most electric clocks, lamps, and other small appliances use ~2-7 watts, so an 18 gauge cord is acceptable.

    Wire Gauge Normal Load Capacity Load
    18 5 Amps (600W) 7 Amps (840W)
    16 8.3 Amps (1000W) 10 Amps (1200W)
    14 12.5 Amps (1500W) 15 Amps (1800W)

  • More Tips about Cords: Photo 1, Photo 2, Photo 3

    [NOTE: THIS IS MY PERSONAL PERSPECTIVE ON SAFETY, IF YOU WANT A PROFESSIONAL OPINION, CONTACT AN ELECTRICIAN!]


    To Wire a Chime or Doorbell:


    To wire a doorbell, follow this diagram. However, most NuTone doorbells & doorchimes use 16 Volt transformers.

    Connect the wire(s) from the transformer to the transformer terminal, and the wire(s) from the pushbutton(s) to the Front & Rear terminals on the chime.


    If you have any information or additions for the site, e-mail me

    Thanks to Northside Service Company for making the linked videos and uploading manuals. If you want a link, go here.


    Counter

    Last updated 6/9/2024